Creating Magical Moments: The Ultimate Guide to Crafting 3D Christmas Cards with Layered Designs
The holiday season is a time of warmth, connection, and the joy of giving. While digital messages have become convenient, there remains an irreplaceable magic in receiving a handcrafted item that carries the personal touch of the creator. Among the most cherished forms of holiday expression is the Christmas card. However, in an era where everyone seems to be crafting, how do you make your greeting stand out? The answer lies in depth, dimension, and design. Enter the world of 3D Christmas cards, a creative trend that transforms flat paper into a tactile experience that delights recipients of all ages.
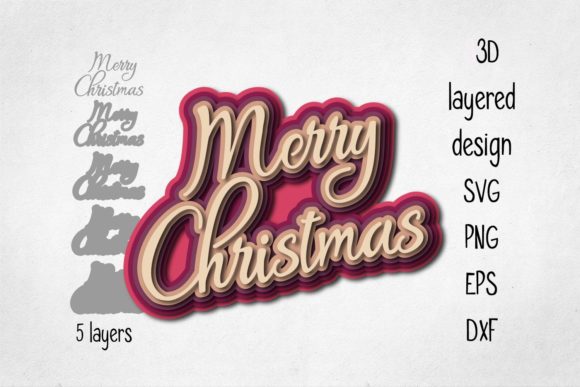
This guide explores the art of creating stunning 3D layered Christmas cards, focusing on the specific advantages of using high-quality digital files like SVG, DXF, EPS, and PNG. Whether you are a seasoned crafter or a beginner looking to try something new for the first time, understanding how to utilize these tools can elevate your holiday gifting from simple to spectacular.
Why Choose a 3D Layered Design for Your Holiday Greetings?
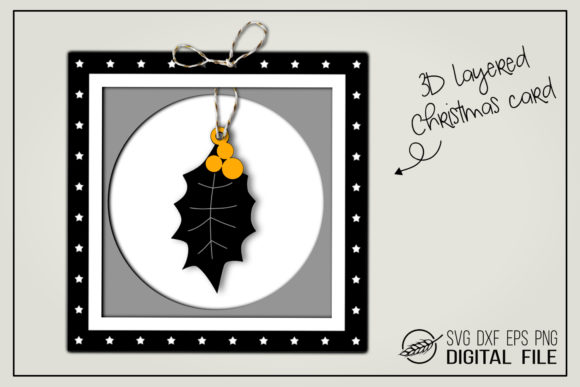
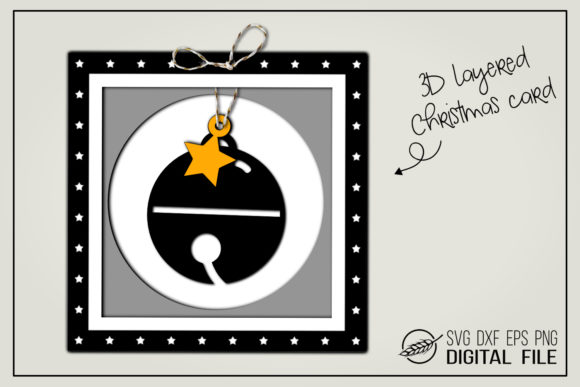
A standard flat card is functional, but a 3D Christmas card gift is an event. The primary purpose of adding a three-dimensional element to your card is to create visual interest and tactile engagement. When a recipient opens your card, they aren't just seeing a picture; they are interacting with a miniature scene. This "pop-up" effect creates a moment of surprise and delight that flat designs simply cannot replicate.
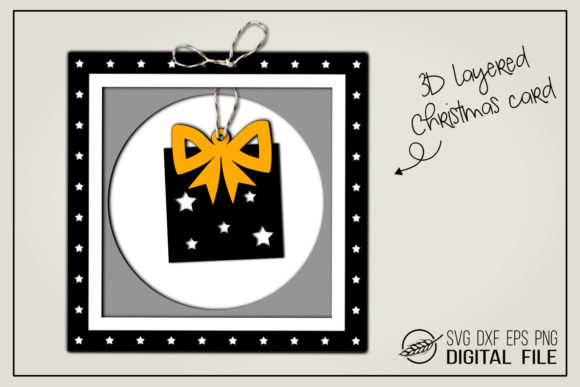
The significance of this craft extends beyond mere aesthetics. In modern life, where we are constantly bombarded by two-dimensional screens, physical objects that offer texture and depth provide a grounding, sensory experience. A 3D present motif, often featuring wrapped gifts, ornaments, or festive trees, symbolizes the very essence of the holiday spirit: giving and abundance. By crafting these cards, you are not just sending a message; you are delivering a small piece of art that serves as a lasting memento of your thoughtfulness.
The Role of Technology in Modern Crafting
You might wonder how such intricate designs are created without years of training in origami or paper engineering. The secret lies in the intersection of traditional crafts and modern technology. Digital cutting machines have revolutionized the hobby industry, allowing creators to produce professional-grade layers with precision that is difficult to achieve by hand.
At the heart of this process are vector files. These digital blueprints allow you to cut complex shapes with perfect accuracy. The files typically included in a premium 3D Christmas card gift package are designed to work seamlessly with popular cutting software. For instance, SVG files (Scalable Vector Graphics) are the gold standard for digital crafting because they can be resized without losing quality. This versatility means you can cut a tiny tag for a favor bag or a large centerpiece for a table display using the same file.
Understanding the File Formats: What You Need to Know
To successfully bring your vision to life, it is crucial to understand the specific file formats provided in your download. Each format serves a unique purpose depending on the software and machine you use.
- SVG Files: These are the most versatile options available. An SVG file contains path data that cutting machines interpret to move their blades. They are compatible with a wide array of programs, including Cricut Design Space, Silhouette Studio Designer Edition, ScanNCut, Sure Cuts a Lot, and Make the Cut. If you own a Cricut or a Silhouette machine with the designer edition, the SVG is your go-to format for layering and color separation.
- DXF Files: Designed specifically for compatibility with the free version of Silhouette Studio Basic Edition, the DXF file (Drawing Exchange Format) ensures that even users without paid software subscriptions can access high-quality designs. It allows you to import your design and cut it out just as effectively as the more expensive versions.
- EPS and PNG Files: While SVG and DXF are for cutting, EPS (Encapsulated PostScript) files are excellent for graphic designers who wish to manipulate the image in Adobe Illustrator or other vector software before printing. Additionally, PNG files with transparent backgrounds are essential if you plan to print your designs on a home printer or send them digitally. The transparency ensures that when you place the image over a background, no white box surrounds your beautiful artwork.
Step-by-Step: How to Create Your 3D Look
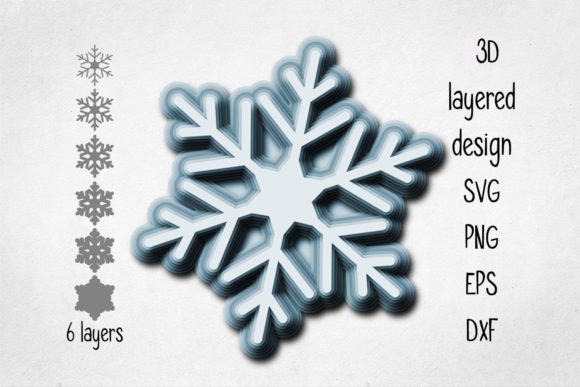
Creating a 3D Christmas card is a straightforward process once you have the right materials and files. The key to achieving that authentic pop-up effect is the technique known as "layering."
- Prepare Your Materials: Gather your cardstock in various colors and textures. High-quality cardstock is recommended as it holds its shape better than thin paper. Ensure you have your cutting machine loaded with the appropriate blade settings for your material thickness.
- Import and Cut: Open your chosen software (e.g., Cricut Design Space or Silhouette Studio) and import the SVG file. Arrange your layers according to the design instructions. Typically, you will need multiple copies of the main image, each in a different color or size. Send the job to your cutter.
- The Secret Weapon: Foam Pads: This is the most critical step for achieving a true 3D look. You must separate the layers physically. Use 3D foam pads (also known as adhesive foam squares) between the layers. Apply a pad to the back of the top layer, then press it onto the layer beneath it. This lifts the top image off the bottom one, creating shadow and depth.
- Assembly: Once all layers are stacked and separated with foam pads, adhere the entire assembly to the front of your folded card base. Add any final embellishments, such as glitter, ribbon, or handwritten notes, to complete your masterpiece.
Clarifying Common Misconceptions
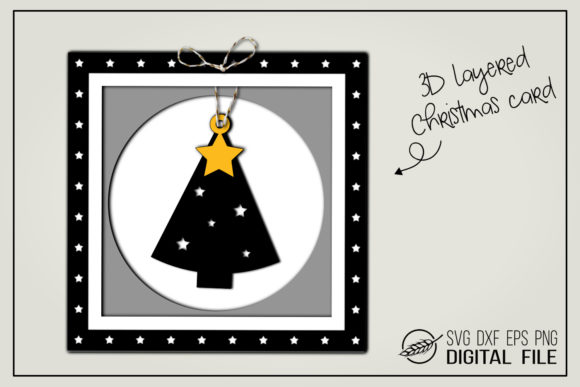
There is a common assumption that creating 3D cards requires advanced skills in paper engineering or complex folding techniques. In reality, with pre-made digital files, the complexity is handled by the software. Another misconception is that these designs only work with expensive machines. As mentioned, the inclusion of DXF files ensures that beginners with basic software can still participate. Furthermore, some users worry about the lack of a background in the files. It is important to note that these files intentionally exclude backgrounds to give you full creative control. You can choose a plain white card, a textured kraft paper, or a vibrant colored cardstock to serve as your canvas, ensuring the design fits your personal style perfectly.
Practical Applications Beyond the Holidays
While the primary use case for these designs is the Christmas season, the utility of 3D layered designs extends far beyond December. The concept of a 3D present or gift box is universal. These same files can be repurposed for birthday invitations, baby shower decorations, wedding favors, or corporate holiday parties.
In a business context, companies often seek unique ways to thank clients or employees. Sending a mass-produced plastic toy feels impersonal, but a handmade 3D Christmas card gift demonstrates effort and care. For educators, this project offers an excellent opportunity to teach students about geometry, spatial awareness, and the history of paper crafts. By integrating these digital files into classroom activities, teachers can bridge the gap between traditional arts and modern STEM (Science, Technology, Engineering, and Mathematics) concepts.
Maximizing the Value of Your Craft
To truly master the art of the 3D Christmas card, focus on the details. Experiment with different types of cardstock—matte finishes reduce glare, while metallic accents add a touch of luxury. Consider the color palette; classic reds and greens evoke tradition, while pastels or monochromatic schemes offer a modern twist. Remember, the goal is to create a sense of wonder.
When you use 3D foam pads, vary the thickness slightly to create dynamic shadows. A taller pad on one corner can tilt the image, adding movement to the static scene. The combination of the SVG, DXF, EPS, and PNG formats provided in your kit ensures that you are never limited by your tools. Whether you are cutting intricate details with a fine blade or printing a large banner, you have the resources needed to succeed.
Conclusion: Spreading Joy Through Dimension
In a world that moves at the speed of light, slowing down to create something tangible is a radical act of love. A 3D Christmas card is more than just paper; it is a memory waiting to be made. By utilizing the right digital assets and simple tools like foam pads, anyone can transform a flat sheet of paper into a dimensional work of art.
Whether you are gifting to family, friends, or colleagues, the effort you put into crafting a 3D layered design speaks volumes. It shows that you took the time to think, create, and build something special. So, gather your machines, load your files, and start building your holiday magic today. With the right files and a little creativity, your next Christmas card gift will be the highlight of the season.