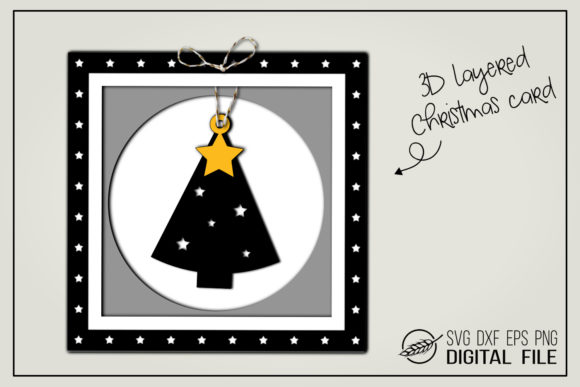
3D Christmas Card - Christmas Tree
There is a distinct magic in holding a handmade greeting that actually stands up to be seen. The 3D Christmas Card - Christmas Tree design transforms a flat piece of paper into a festive centerpiece, creating an instant "wow" factor that standard printed cards simply cannot match. This layered design isn't just about cutting shapes; it is about depth, texture, and the tactile experience of giving a gift that feels as thoughtful as it looks. Whether you are a seasoned papercrafter or someone who has never held a Cricut machine before, this project offers a rewarding way to connect with friends and family during the holidays.
However, while the final result is stunning, the path to getting there often trips up even experienced creators. Many users rush into downloading files without understanding the technical requirements, leading to frustration when their layers don't align or their cutters struggle with complex details. To ensure your holiday crafting season is successful, it is essential to look past the pretty preview images and understand the practical realities of working with 3D layered designs.
Understanding the Layered Design
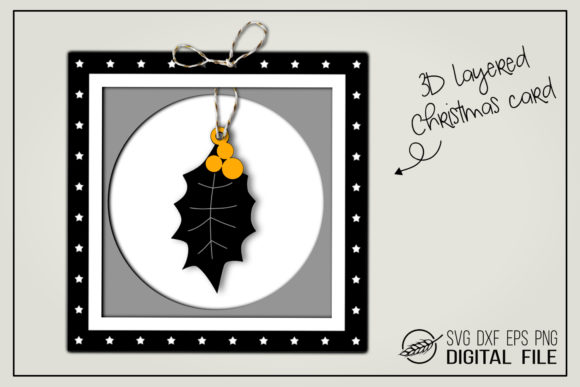
The core appeal of the 3D Christmas Card - Christmas Tree lies in its construction. Unlike a single-layer card where all elements are cut from one sheet of paper, this design relies on multiple stacked components. You will typically find a base layer, followed by the tree trunk, various branches, ornaments, and perhaps a star or bow on top. Each of these elements is a separate file designed to be cut individually.
To achieve the true 3D effect, you must introduce physical space between these layers. This is where 3D foam pads become indispensable. These small adhesive spacers lift each subsequent layer slightly above the previous one, creating shadows and dimension that make the tree pop off the page. Without them, the design collapses into a flat silhouette, losing the very quality that makes it special. While the concept sounds simple, the execution requires patience and precision.
File Formats and Software Compatibility
One of the most common sources of confusion for beginners involves the specific file formats included in the download package. The bundle typically contains SVG, DXF, EPS, and PNG files, but they serve different purposes and require different software environments.
- SVG Files: These are the industry standard for digital cutting machines like the Cricut Design Space, Silhouette Studio Designer Edition, ScanNCut, Sure Cuts a Lot, and Make the Cut. They contain vector data that allows for infinite scaling without losing quality. If you own a modern cutter, this is your primary file type.
- DXF Files: Specifically optimized for Silhouette Studio Basic Edition. Many users assume the basic version handles everything, but it often struggles with complex SVG paths. The DXF format ensures compatibility if you are using the free version of Silhouette software.
- EPS and PNG: These are valuable for those who prefer traditional methods or need high-resolution images for printing rather than cutting. However, remember that the PNG included has a transparent background, meaning it is ready for digital placement but does not include the cutting paths required for machines.
A critical mistake many makers make is assuming one file works everywhere. Always verify which software you are using before attempting to import the design. Trying to force an SVG into a program that doesn't support it can result in missing layers or distorted cuts.
Pitfalls to Avoid When Crafting 3D Cards
Even with the correct files, several common errors can ruin the presentation of your 3D Christmas Card - Christmas Tree. Understanding these potential pitfalls beforehand can save you time, money, and materials.
Misjudging Paper Weight and Thickness
Not all cardstock is created equal. A frequent error is using paper that is too thin or too thick. If the cardstock is too flimsy, the 3D structure may collapse under its own weight once assembled. Conversely, if the paper is too thick (over 120lb), the layers may not fit together cleanly, causing the card to bulge awkwardly or the foam pads to tear through the paper. For the best balance of structure and flexibility, stick to cardstock between 80lb and 110lb.
Neglecting the "No Background" Rule
The product description explicitly states that no background is included. This is a vital detail. Some users mistakenly try to use the outer bounding box of the design as the card base. Because the file is designed with transparent backgrounds, the "background" is empty space. You must create your own card base separately. Failing to do so results in a floating tree with nowhere to sit, making the card difficult to mail or display properly.
Ignoring Alignment Marks
When assembling 3D layers, alignment is everything. If your tree branches are slightly off-center relative to the trunk, the symmetry breaks immediately. Professional designers often include registration marks or center lines in the SVG files. Ensure you are using these guides when positioning your layers on the mat or within your software. Skipping this step leads to a lopsided tree that looks amateurish.
Practical Steps for Success
To avoid these mistakes and produce a professional-looking result, follow a structured approach. Start by testing your design on scrap paper before committing to expensive cardstock. This allows you to check the fit of the foam pads and the overall proportions of the tree.
When loading your cutting machine, ensure the blade depth is calibrated correctly. A dull blade can cause jagged edges on intricate ornaments, ruining the clean lines of the design. If you are using a Cricut or similar device, consider using a fine-point blade and adjusting the pressure setting based on your specific paper brand.
Assembly should be done methodically. Apply the foam pads to the back of the layers, starting from the bottom up. Press firmly to ensure adhesion. It is helpful to have a bone folder or a smooth tool to press down gently on the finished card, ensuring all layers lie flat against the base except for the intended 3D elements.
Evaluating Your Choices Before You Buy
If you are considering purchasing or downloading this design, take a moment to evaluate your current setup. Do you have access to a compatible cutting machine? Are you comfortable with the software mentioned, such as Cricut Design Space or Silhouette Studio? If you are new to digital crafting, look for tutorials specific to the software you own. Many creators find that watching a video demonstration of the assembly process for a similar layered card can clarify the steps better than reading instructions alone.
Furthermore, consider the recipient. A 3D card is a statement piece. It requires more effort to send via mail due to its thickness. Ensure you account for extra postage costs and use a rigid envelope to prevent damage during transit. The investment in time and materials pays off when the recipient receives a card that feels substantial and personal.
By paying attention to file formats, selecting the right materials, and respecting the layering process, you can create a 3D Christmas Card - Christmas Tree that stands out in every sense. It is a project that bridges the gap between digital convenience and traditional craftsmanship, resulting in a holiday tradition that both you and your loved ones will cherish.